

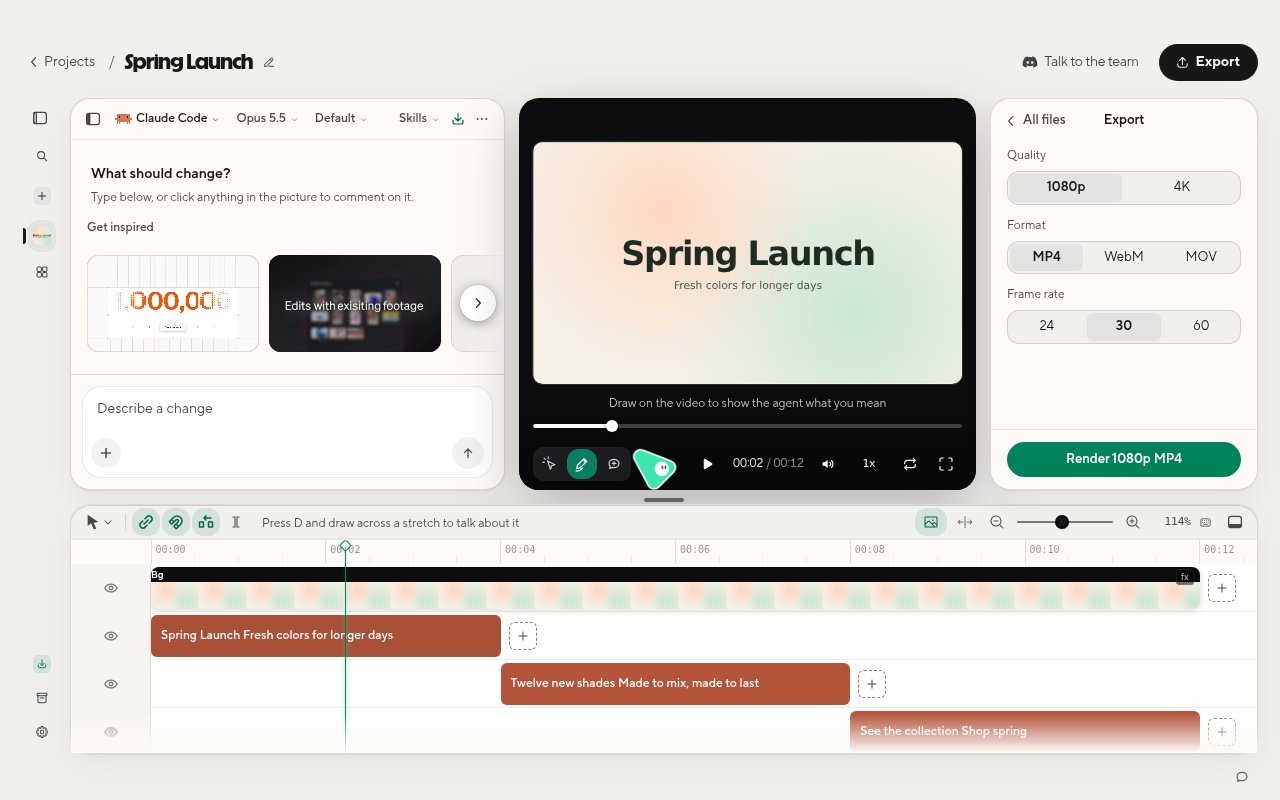
The Export panel with quality, format, and frame rate.
Choose the file
MP4 is the right choice for sharing and uploading. Pick another format only when the place you are sending it asks
for one.
Render
Choose the render button, for example Render 1080p MP4. The panel shows Getting ready, then Rendering with the frames done so far, then Finishing the file. You can close the panel and keep working; the render continues. Choose Cancel to stop it. Export is unavailable while the agent is building the project. Wait for the run to finish.Find the file
The video is saved to your Downloads folder, named after the project with the date and time, for exampleSpring Launch 2026-05-04 10.30.mp4. When it is done, the panel shows Export ready with the file size:
- Open video plays it.
- Show in Finder (Show in folder on Linux) opens the folder.
If the export fails
- The render fails or does not start: choose the render button again. If it keeps failing, ask the agent to check the project, then export again.
- The video was made but could not be saved to your Downloads folder: free up space or check that the Downloads folder exists, then export again.
- HyperFrames could not start its built-in FFmpeg: the app may be damaged. Reinstall it from hyperframes.dev/studio.